3. Create Graph
The graph and snapshot are the last steps to setting up your journal. These are advanced uses, and not necessary to getting something from writing entries.
The graph takes just a little bit of planning. You should ask yourself, "How do I want to categorize the activities of my life?"
A simple framework can be Hobbies, Personal Items, Work.
Together we'll create a simple graph. You can add to it, and/or start a new one as you get a grasp of it. There is no doing it incorrectly, and the longer you do it, the more clear its structure ought to be.
Stats Available with Graph
| Feature | Stats |
|---|---|
| Graph Screen | Page History |
| Radar Chart Enabled | |
| Comparative Activity Groupings | |
| See Trends by Group | |
| Graph UI to Interact with Activities |
Here is an example from journaling my own work on Grow:
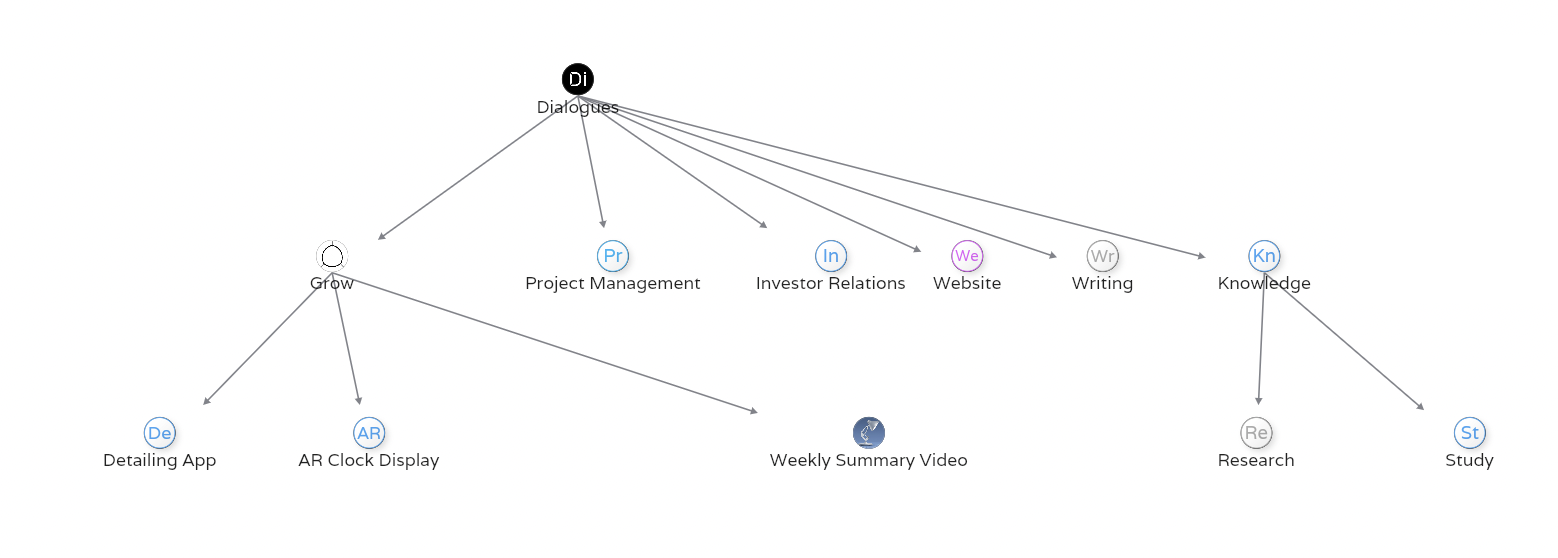
The way you build this graph, combined with the snapshot, enables the radar chart, and the time-tunnel displays.
In order to calculate the total time spent in different buckets, you will have to form a graph and snapshot.
Make an entry.- Setup your first graph.
- Add snapshot from the graph.
i. Navigate to Graph Screen
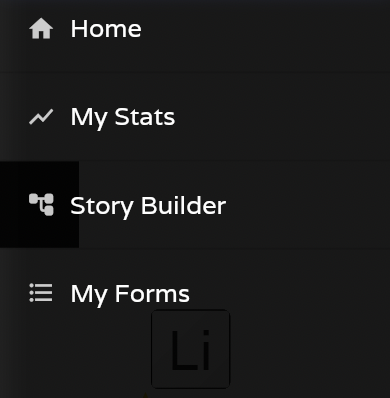
On the left side of the screen, select the Story Builder tab.
1. Start Fresh Page
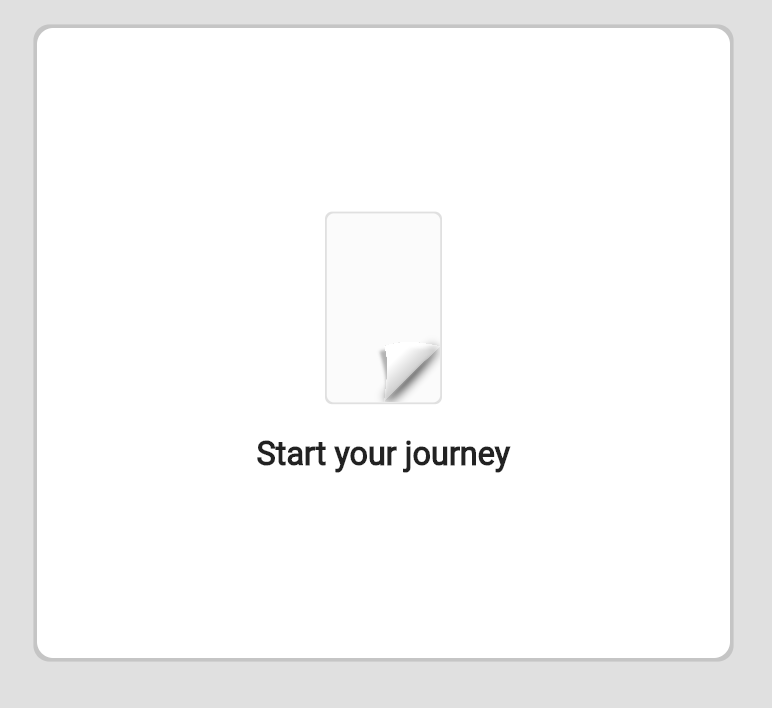
First off, you need to start a fresh page. It's easy.
- Click the
Start your journeypage.
- Select
Blankpage. - Give your new page a title. (You can edit this later.)
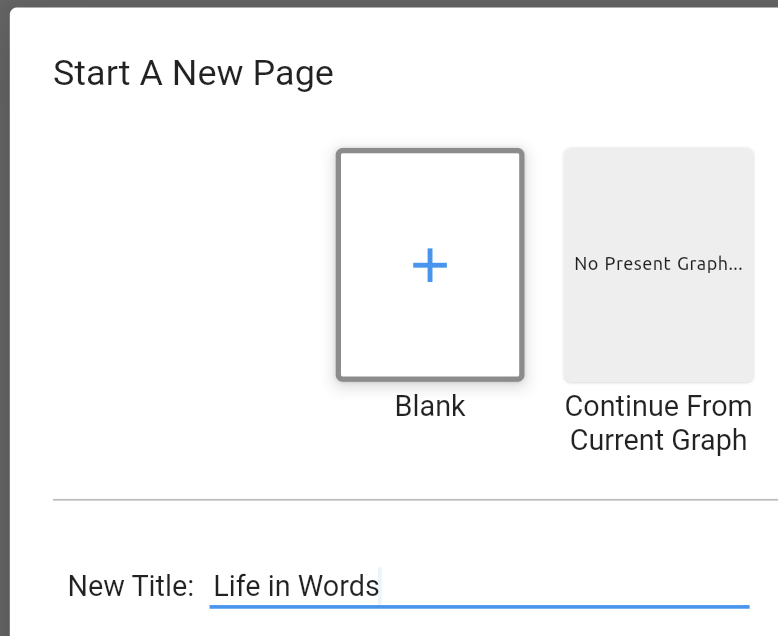
- Select
Turn the pagein the bottom right.

Enjoy the animation
When the animation is complete, you are ready to build your graph! 🎉
2. Add Nodes to Graph
We need to add some nodes to the graph.
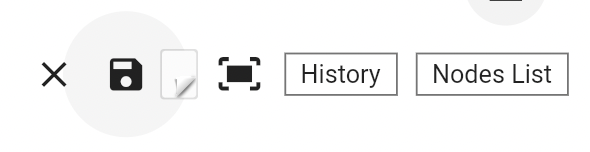
- In the upper right hand of the screen, click the
Nodes Listbox. You will see the Nodes List menu appear below it. - Tap the hamburger menu icon to display all the available nodes.
If no nodes appear in your list when you click the menu button. Hard refresh your application. (Hold shift and press the broswer refresh button.) Sometimes, when a new user account is just created, these nodes aren't downloaded/created yet, and the app needs to restart to grab them. So, restart your application, and come back to this page. You should see the first nodes here.
- Tap the
+next to the nodes to add them to the graph. Go ahead and add them all.
Your initial graph ought to look similar to this.
You might have an added category from the Create Entry step included.
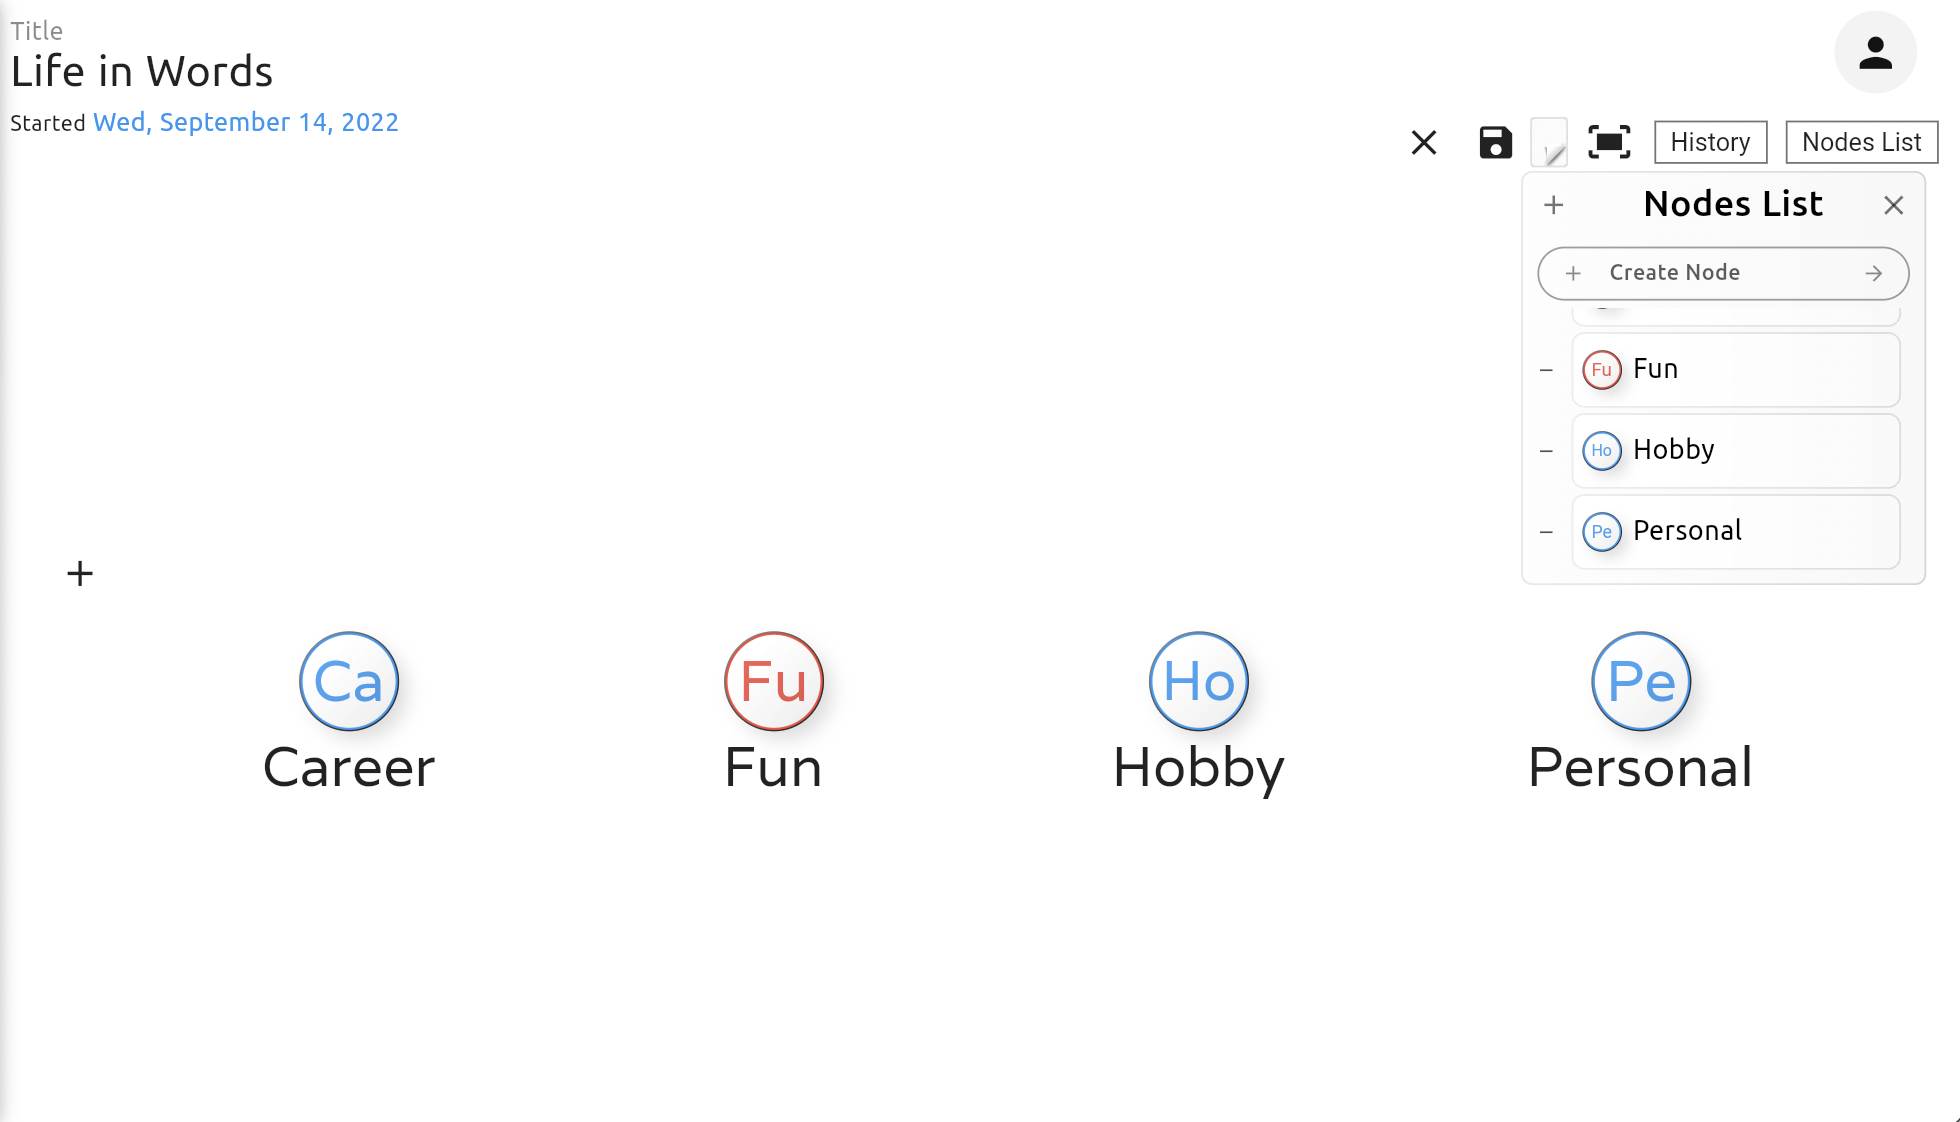
This beta version currently scales these starting nodes to be HUGE and to the right! Zoom out, and/or drag the blank chart to the left.
The Nodes List is Scrollable and searchable. Scroll down to get the Personal item.
3. Create 3 Activities
Let's add a few more items to the graph. In the top right, where it says, create a node.
- Let's add these three nodes:
- Class
- Homework
- Exercise
Type the names into the field and press Enter or tap the ➡ button.
They should appear in the list.
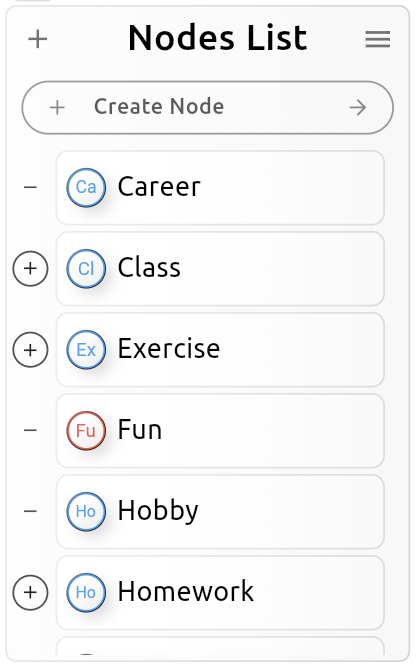
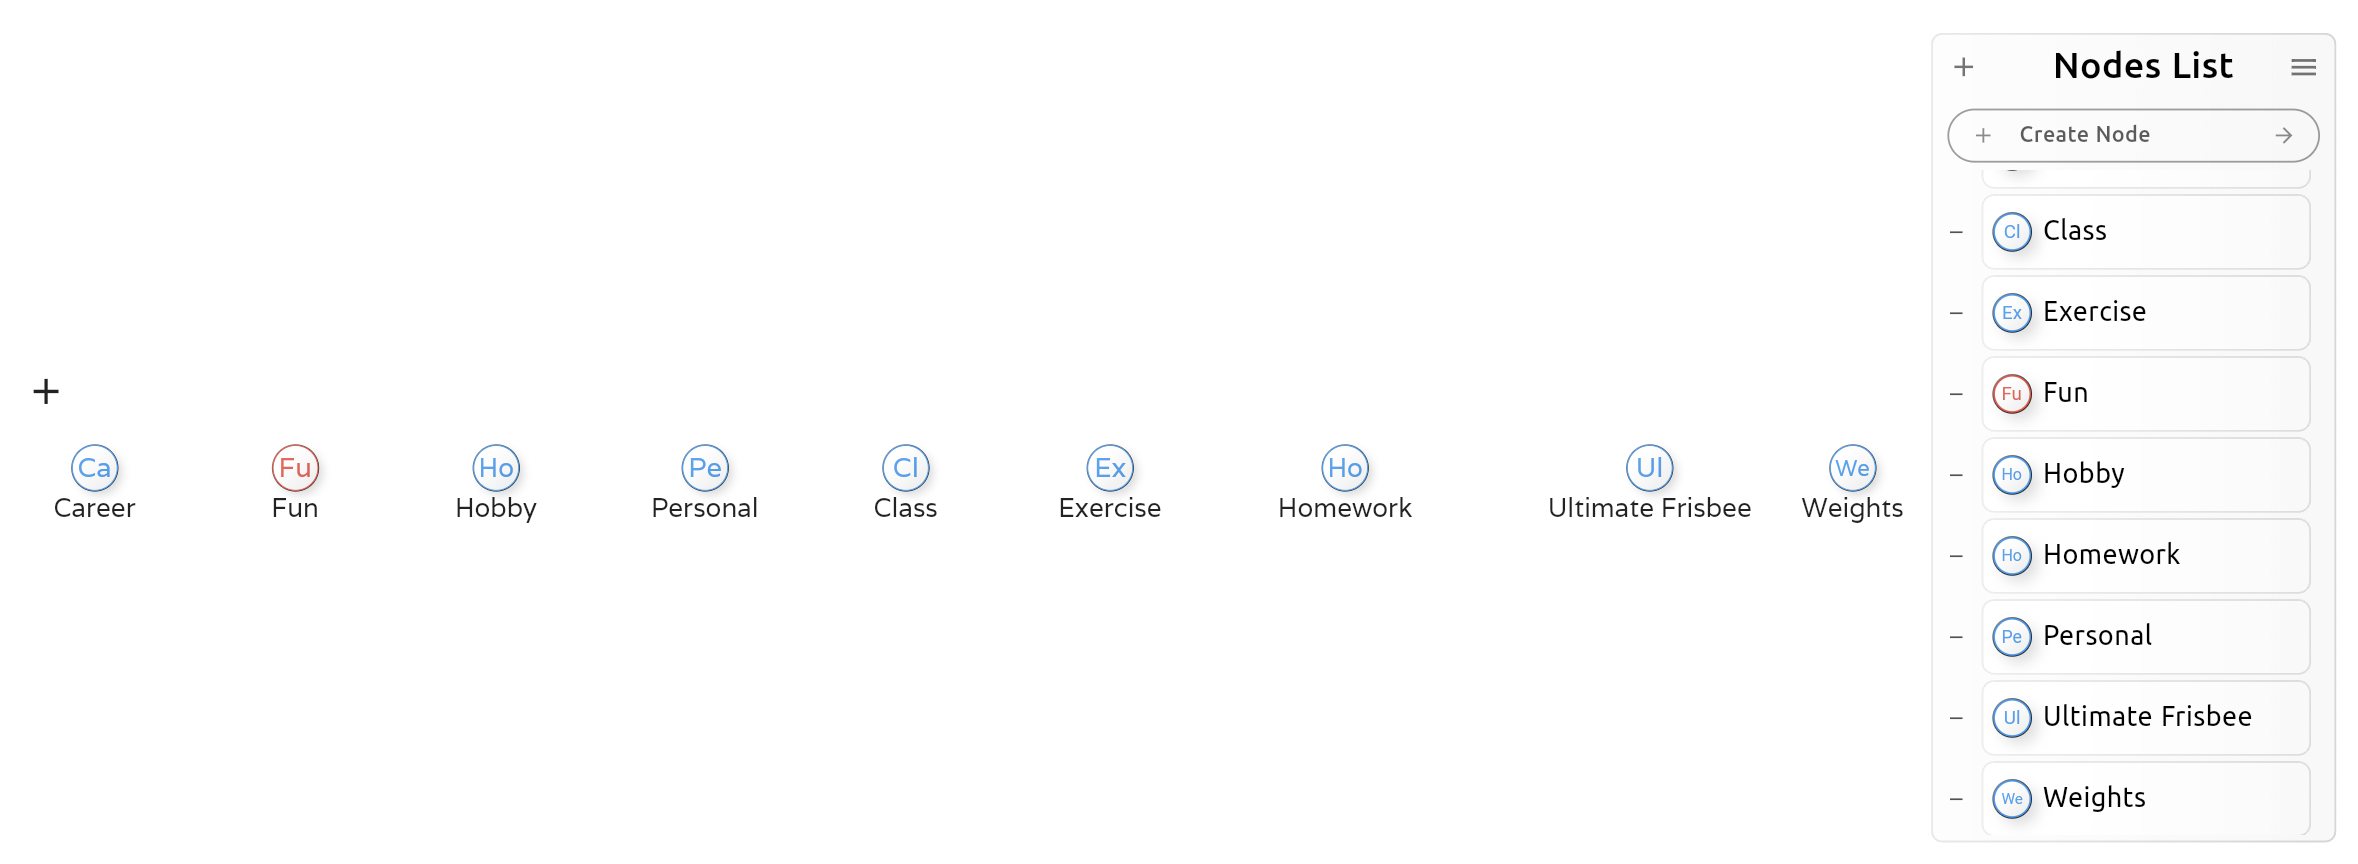
Bonus: Add i. Weights ii. Ultimate Frisbee
- Add all the new nodes to your graph.
Tap the + next to all your new nodes to add them to the graph.
You should get something like this.
4. Build a Graph
Now you get to construct your graph!
Simply drag and drop one node on to another. You can drag whole graphs onto others. Play around with this.
Here's the final one.
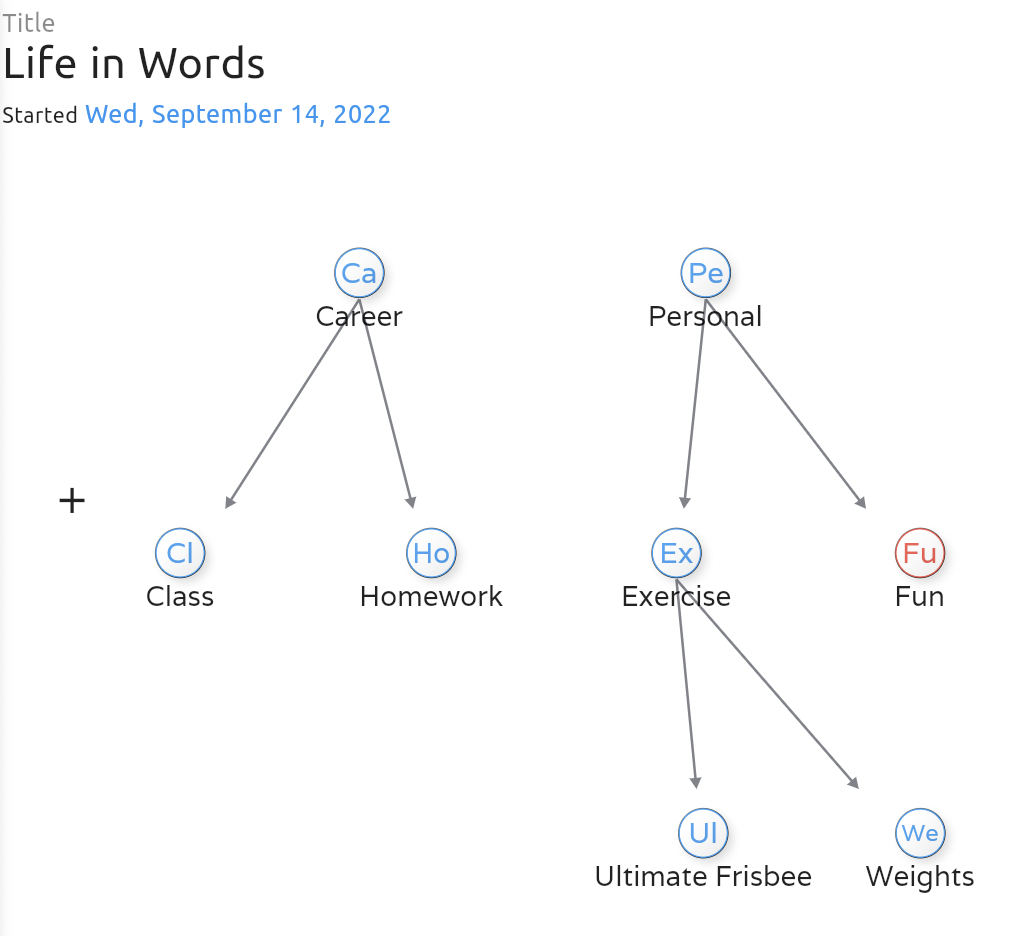
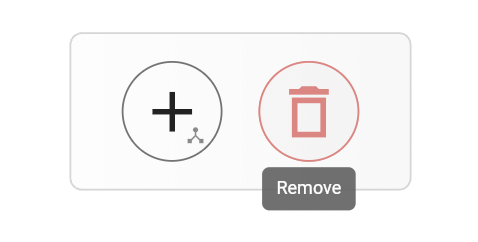
Delete unwanted node from the graph by pressing the - next to its name from the list, or by dragging and dropping it onto the trash button that appears while dragging.
Sometimes the trash menu does not go away.
- First press save to keep your changes.
- Try pressing the home button on the side panel, and come back to the graph.
- If that doesn't work, hard refresh the app.
5. Press Save!
Save your changes before you leave the page!!!
Next Steps
After you have created this graph. Now you are ready to make the snapshots. The snapshots will let you create groups of nodes on the graph you would like to compare.