4. Create Snapshot
You must have created a graph in order to start making snapshots.
Make an entry.Setup your first graph.- Add snapshot from the graph.
After you finish this section, you will have created one snapshot.
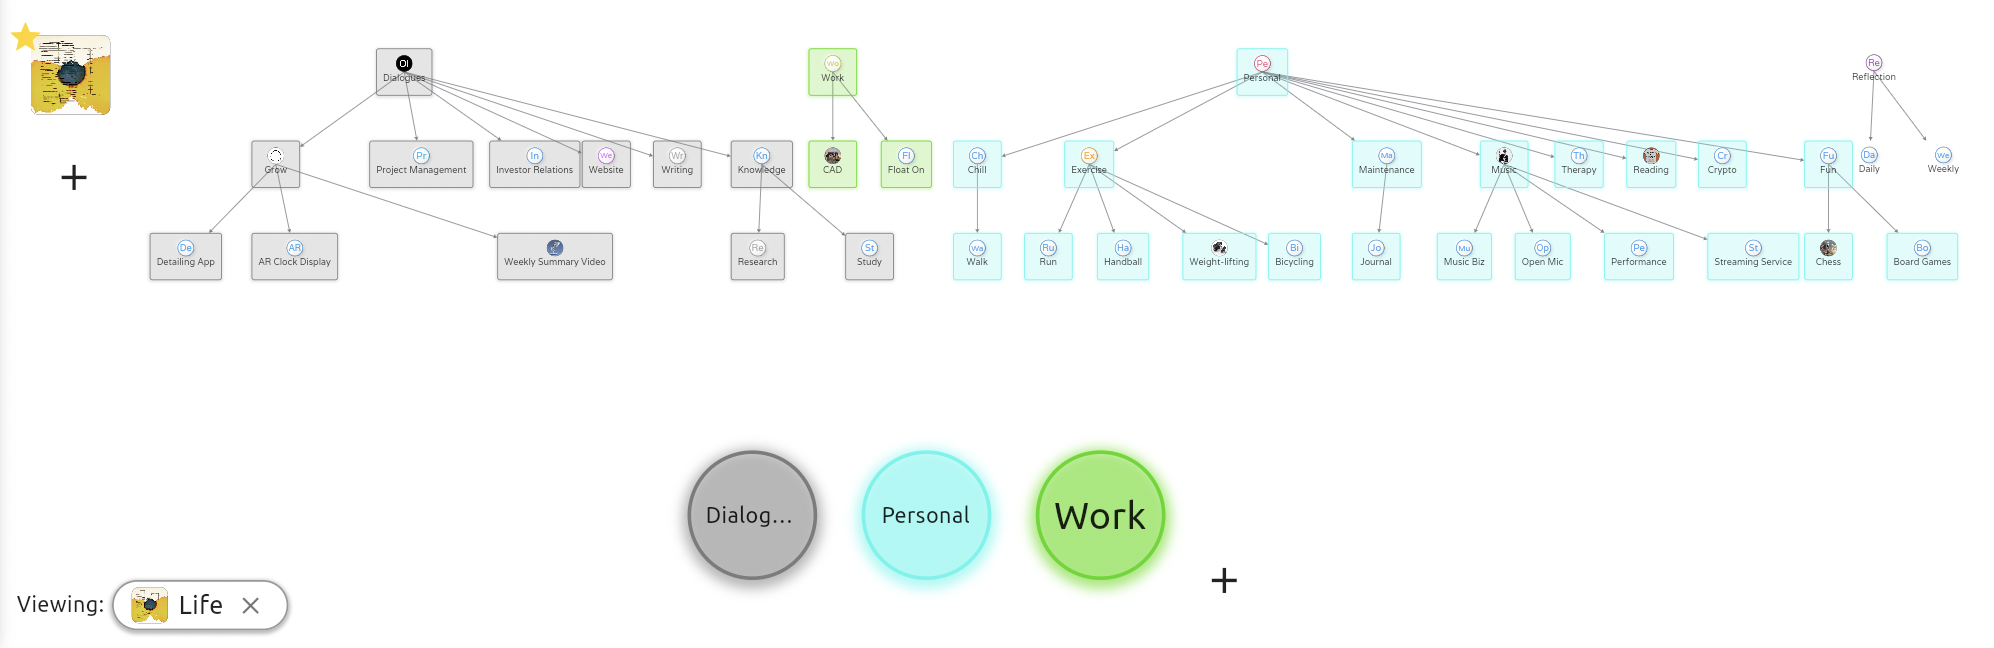
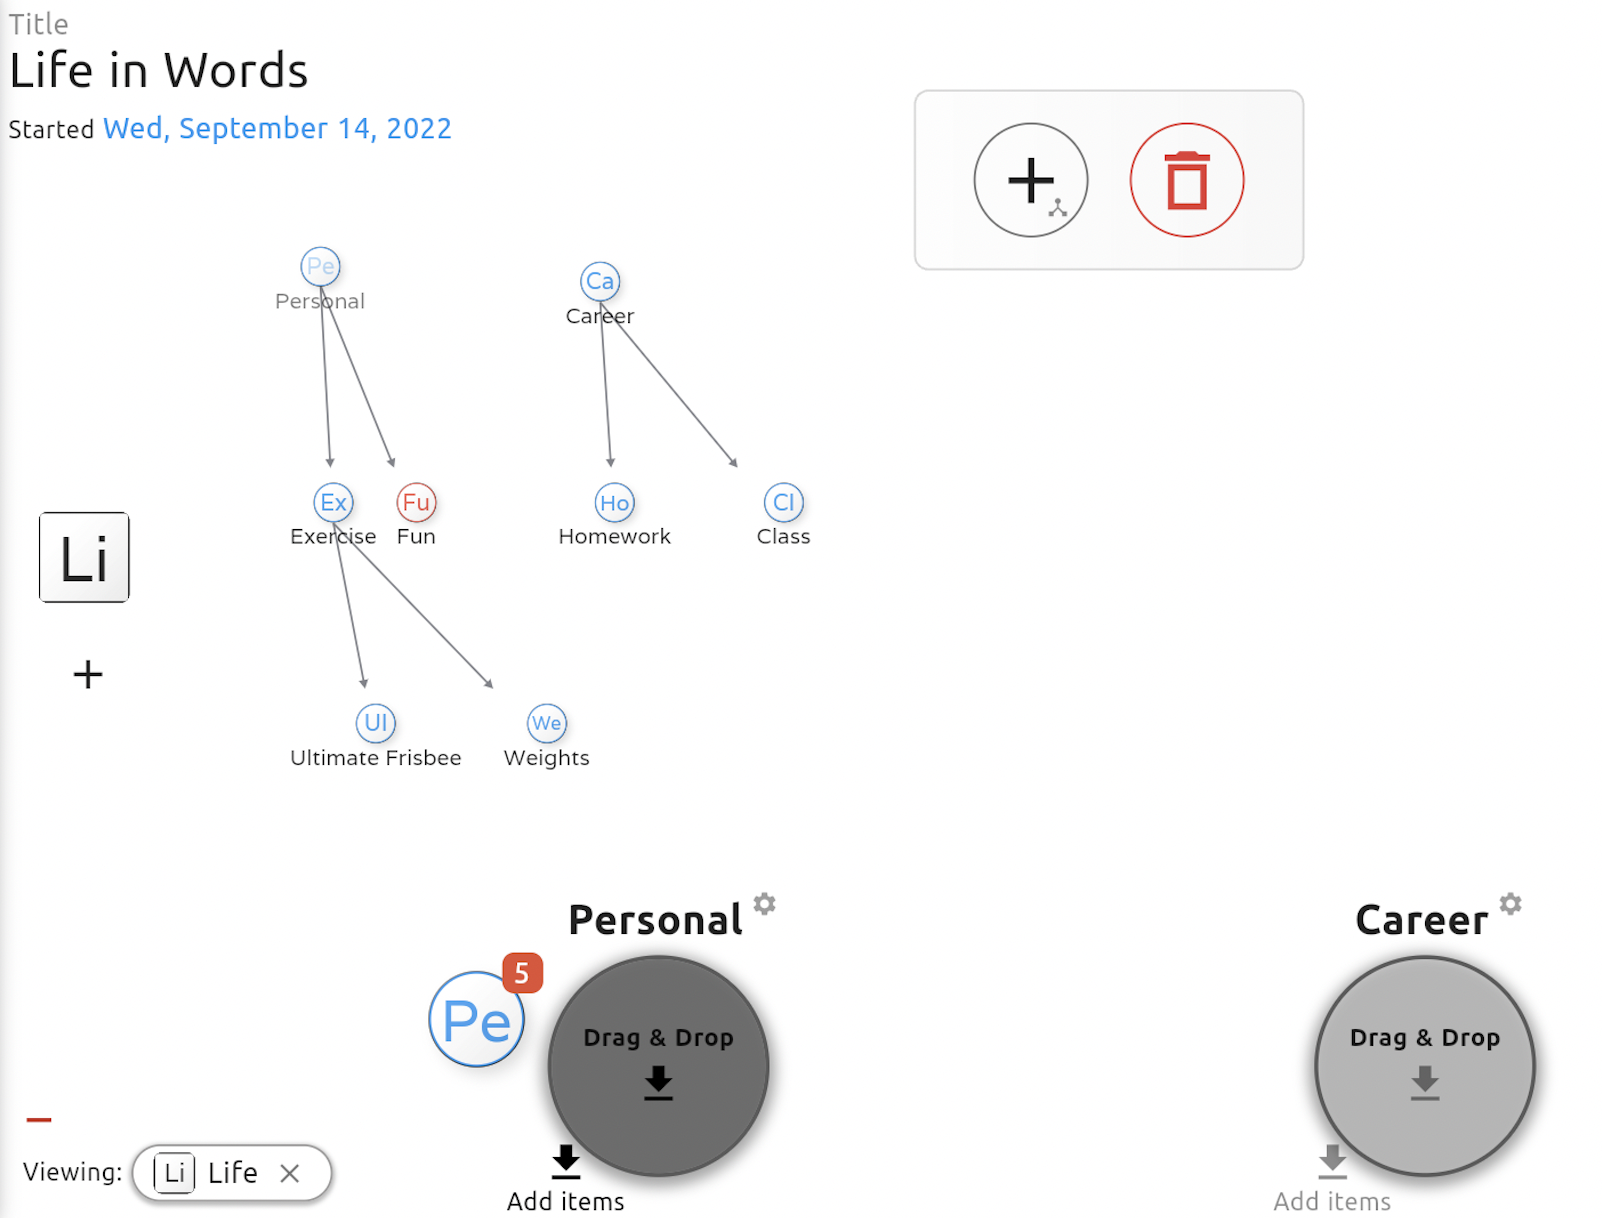
The snapshot will be called Life. It will have two groups:
- Personal
- Career
All nodes associated with Personal are placed in the Personal group. All nodes associated with Career are placed in the Career group.
This is the result from my own Life snapshot.
Let's build one together.
Starting With A Graph
We will start with the graph we made in the last section.
1. Make the Snapshot
Tap the + on the left hand side of the screen
Give your snapshot a name. We'll call this one
Life. I like to have my primary snapshot encompass the entire graph. See tips on how to design your snapshots with the snapshot guide. (Guide coming soon...)
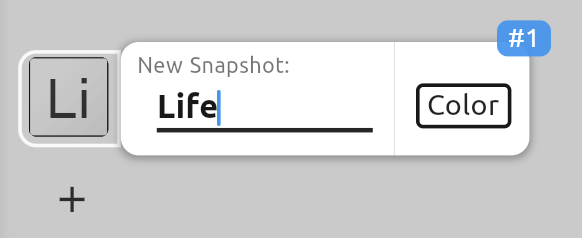
Press
Enter.Click the
LiSquare Snapshot you just created on the left.
A couple items will appear at the bottom of the screen which looks like this.
First, there is an icon that says you are viewing, your Life snapshot. You can press the X on it to close it.
Second, there is a + button in the middle.
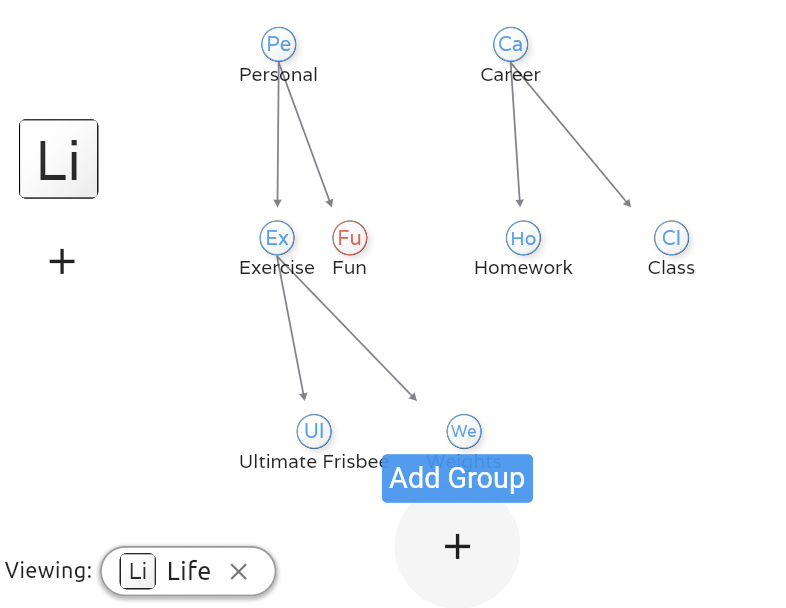
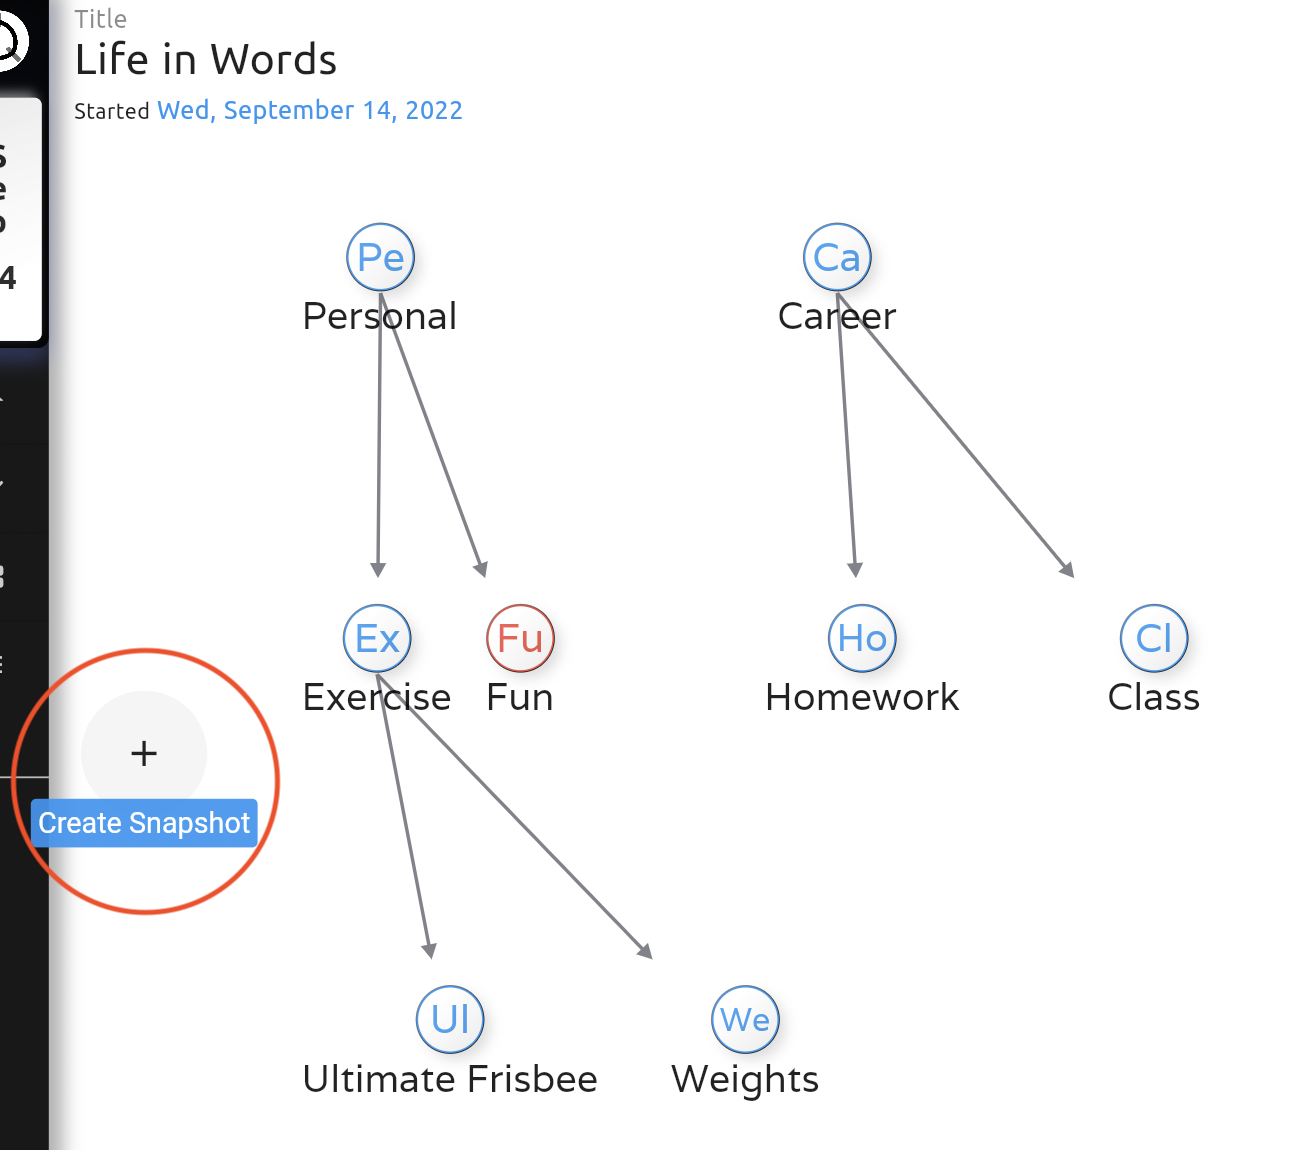
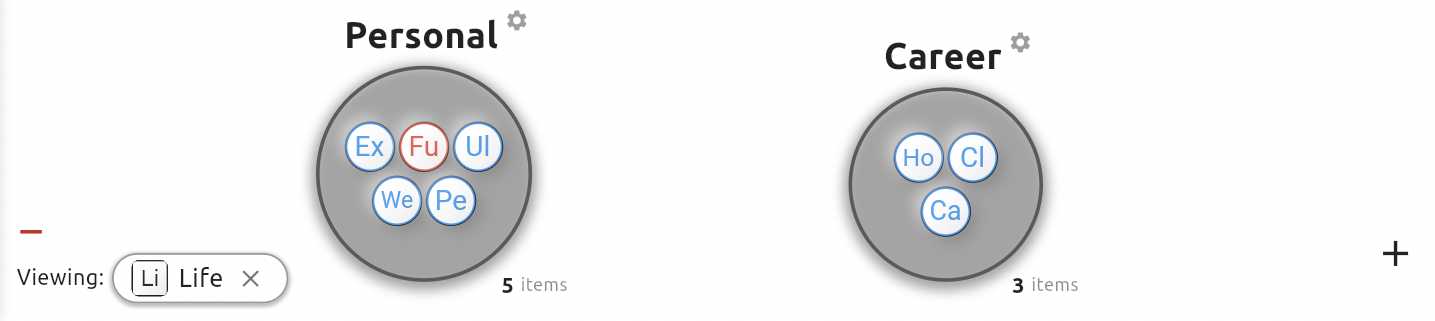
2. Create 2 Groups
- Press
+button to make your groups. - Let's make two of them.
Name them:
- Personal
- Career
Drag the whole
Personalbranch on to the personal circle.
- Do the same with
Career.
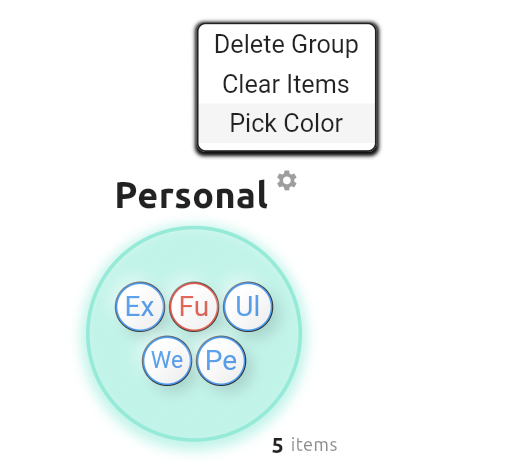
- Change their colors by clicking the settings icon, and then,
Pick Color. After you select the color from the color wheel, be sure to pressSet Color
- In the end, we get our final chart.
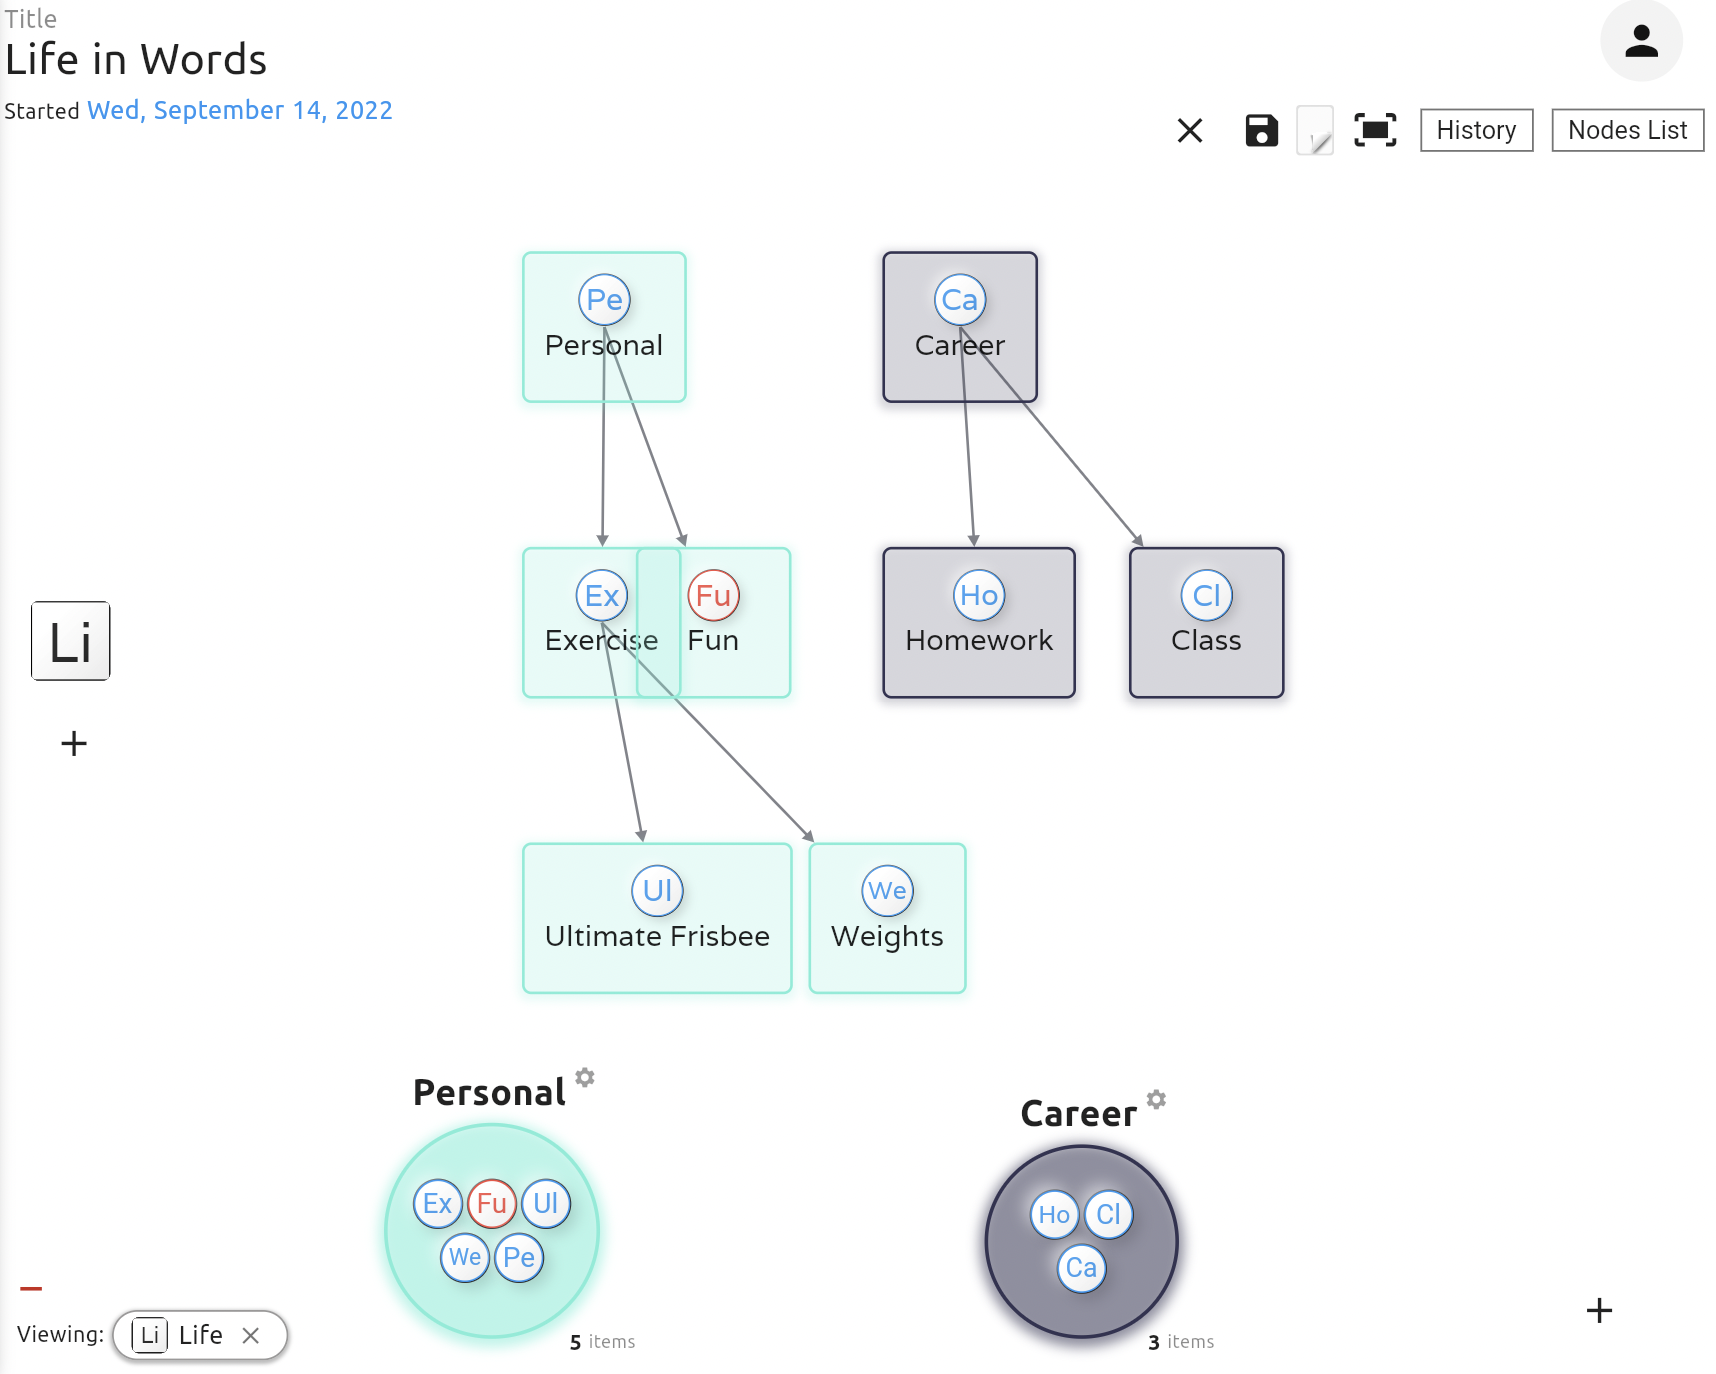
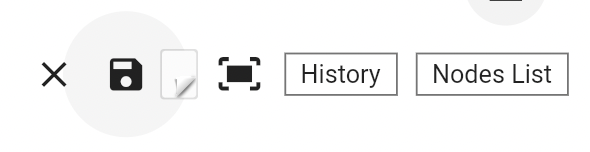
3. Press Save!!!
4. Set this Snapshot as the primary.
- Hover over the
Lifesnapshot on the left side of the screen. - A menu will appear.
- Tap the ⭐️ to set this as your primary snapshot.

From this snapshot menu that appears on hover, you can:
- Edit the name.
- Edit the color.
- Upload an image from your device.
- Set the snapshot as the primary snapshot.
- Delete the snapshot from your graph.
A Summary
In this section we have created a snapshot. Snapshots allow you to quickly compare different activities with one another.
In this graph we have made, we will get to go to our life, and see how much time is divided between personal and career time.
Now, any time we make an entry from the main menu, all of the counters will know to include the activity of that entry in its respective group in the snapshot. Ultimate Frisbee will get counted as Personal time. Homework will classified as Career time.
You can create snapshots to get a detailed chart for any of these activities. For more information on how to use Snapshots, check out the in-depth snapshot guide. (Guide coming soon...)